Appearance
Debit Terminal Setup Guide
This guide provides step-by-step instructions on how to set up debit terminals for your cannabis dispensary. Accepting debit card payments can improve customer convenience and streamline transactions. By following these instructions, you'll be able to integrate debit terminals into your dispensary's point-of-sale (POS) system.
DispenseFirst intergrates with TransactFirst to process debit payment. So this guide is for stores that have signed a contract with them and received their hardware.
Requirements
The only requirements to be able to process debit transactions are:
- Wi-Fi connection
- Debit Terminals
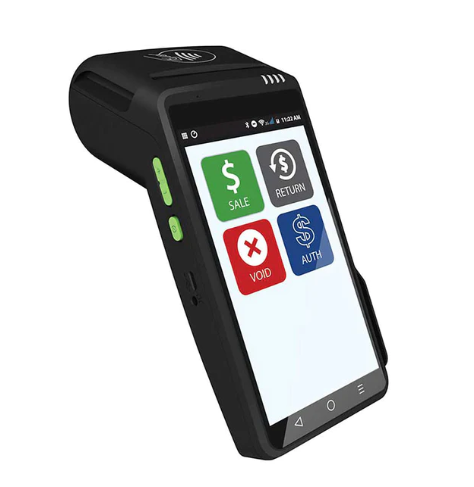
The terminals should look similar to the image below

Table of Contents
- Connect the terminal to the Wi-Fi
- Add the terminals in DF
- Assign a Debit Terminal to a register
- Process a payment with the debit terminal
1. Connect the terminal to the Wi-Fi
Turn on the terminal using the side button. Once the terminal is turned on, select Configure and follow the indications on the scree to connect to device to the wifi
2. Add the terminals to DF
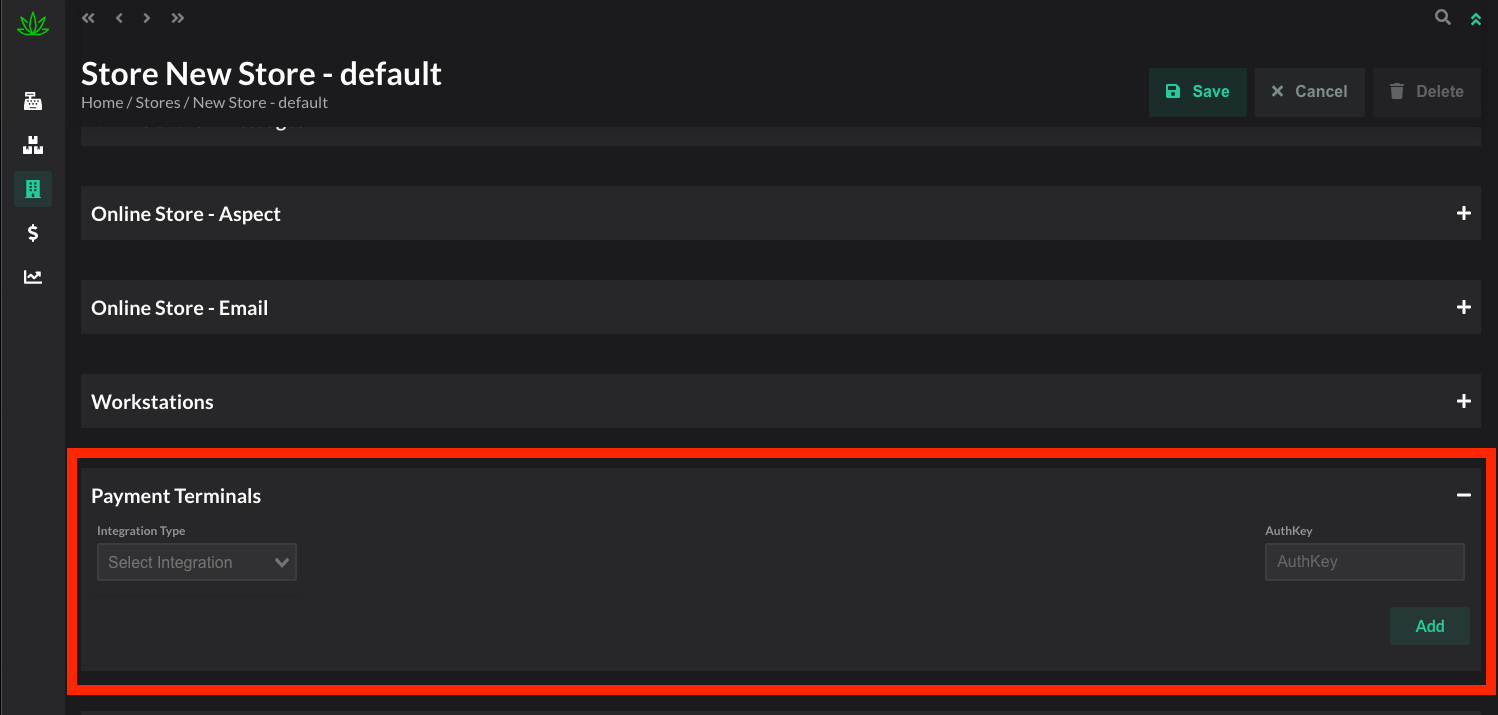
Once all the terminals are connected to the Wi-Fi, please login in DF and navigate to the store settings and navigate to the Payment Termianals section.

- Select
TransactFirstas Integration Type from the dropdown - Insert the
AuthKeyprovided to you by TransactFirst
Now you can start adding each terminal by clicking the Add button:
- Give a name to each terminal (usually the same name as the register that will use that terminal. For example 'Terminal 1' for the POS 1)
- Insert the
Register#provided to you by TransactFirst
Once all the terminals are inserted, please save the store settings. The end result should look simmilar to this:

3. Assign a Debit Terminal to a register
Now that you have added your debit terminals in DF, navigate to the Workstations section in the Store Settings. Here you will just need to select which terminal to assiciate to the register by selecting it from the dropdown.

4. Process a payment with the debit terminal
Now that you have set up the terminals and assicated them to each workstation, when processing an order you will just need to select Debit in the POS.

The amount that the customer will be charged (step 1) will be rounded to the nearest $10 (eg. $38 will become $40. the customer will receive $2 as cash back). If the amount is correct, click Send to Terminal to send the transaction to the terminal automatically.

At this point do NOT refresh the screen but allow the customer to follow the information on the terminal to proceed with the payment. If the payment fails, you will be notified on the screen.
 DispenseFirst Docs